DIY Dimmer Switch
Recently, I’ve had the desire to start doing some DIY projects, and many of them are in terms of lighting. I’ve never been the best electrician, so I decided to start developing my skills and knowledge within that field.
I wanted to start very basic and gradually increase the complexity of my builds. I hope to share more of these in the future for those curious and also for when I forget. So this is how I came to build my first dimmer switch.
THIS BUILD IS IN NO WAY A REPLACEMENT FOR A QUALIFIED ELECTRICIAN. BUILD AT YOUR OWN RISK.
For the build, you need:
Dimmer switch
Wattage capacity depends on lights & fixture
Line in side of stinger (extension cord)
Make sure gauge is also compatible with amp & wattage needs
Load out side of stinger
Make sure gauge is also compatible with amp & wattage needs
Wire strippers
Wire connectors
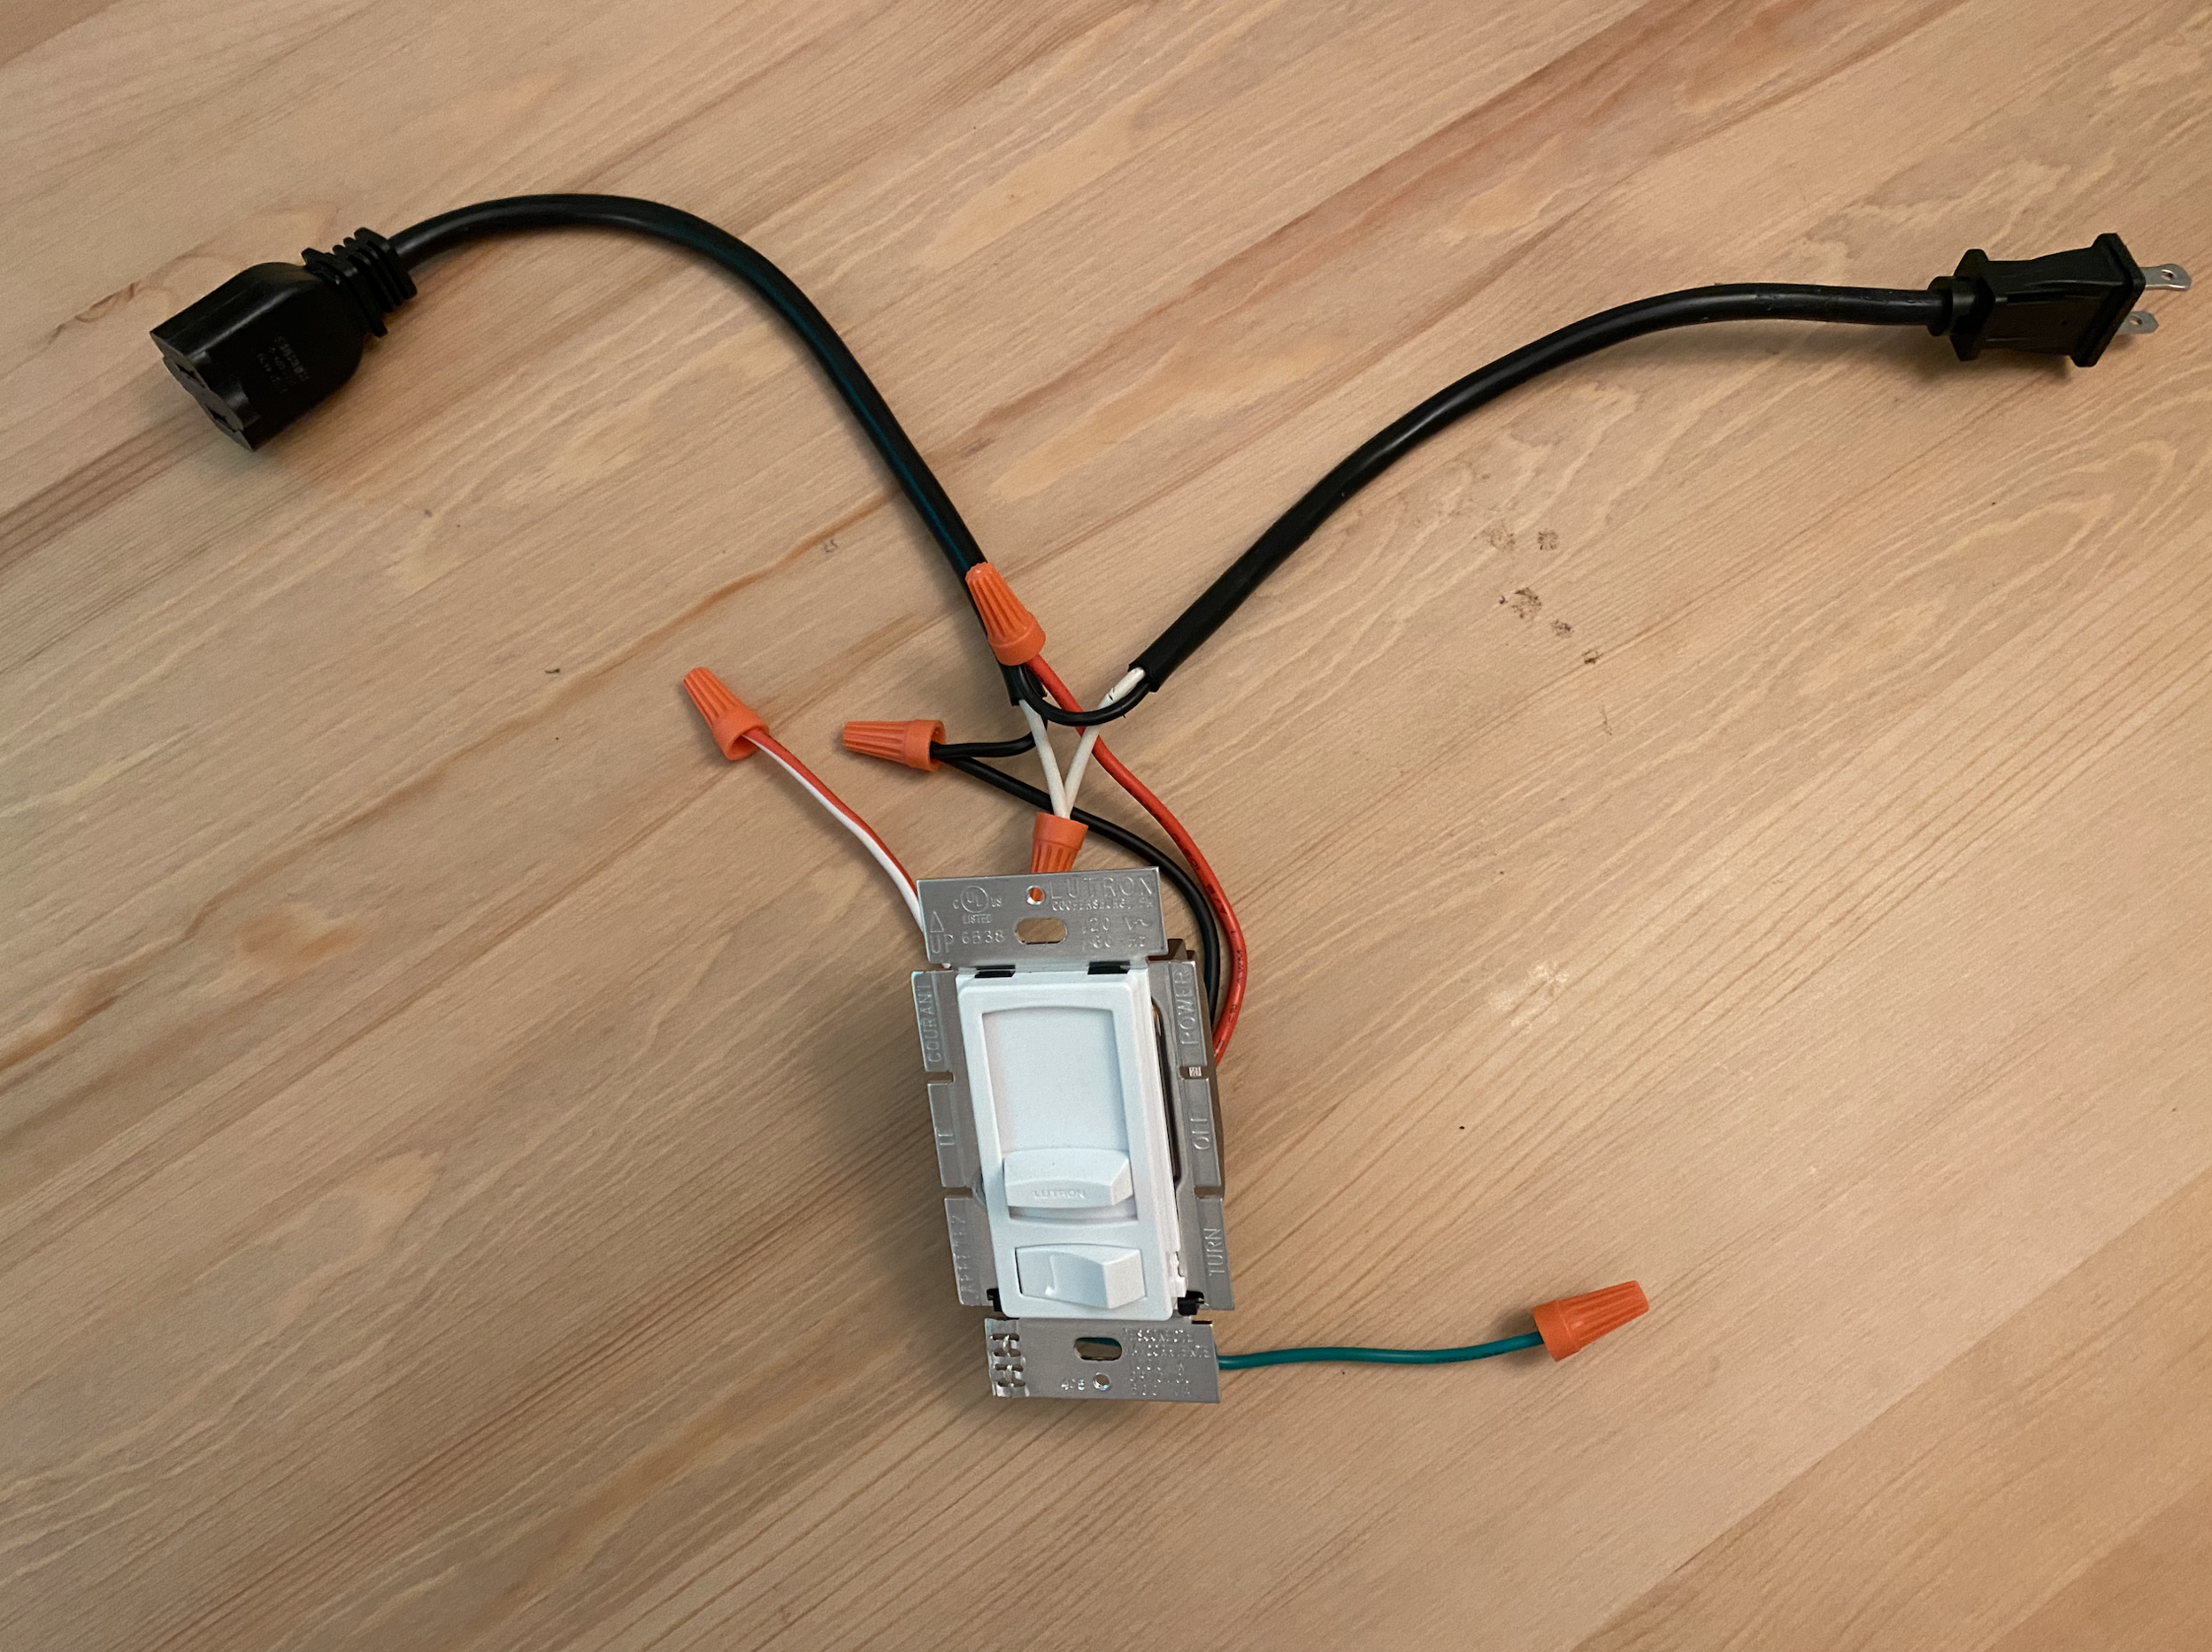
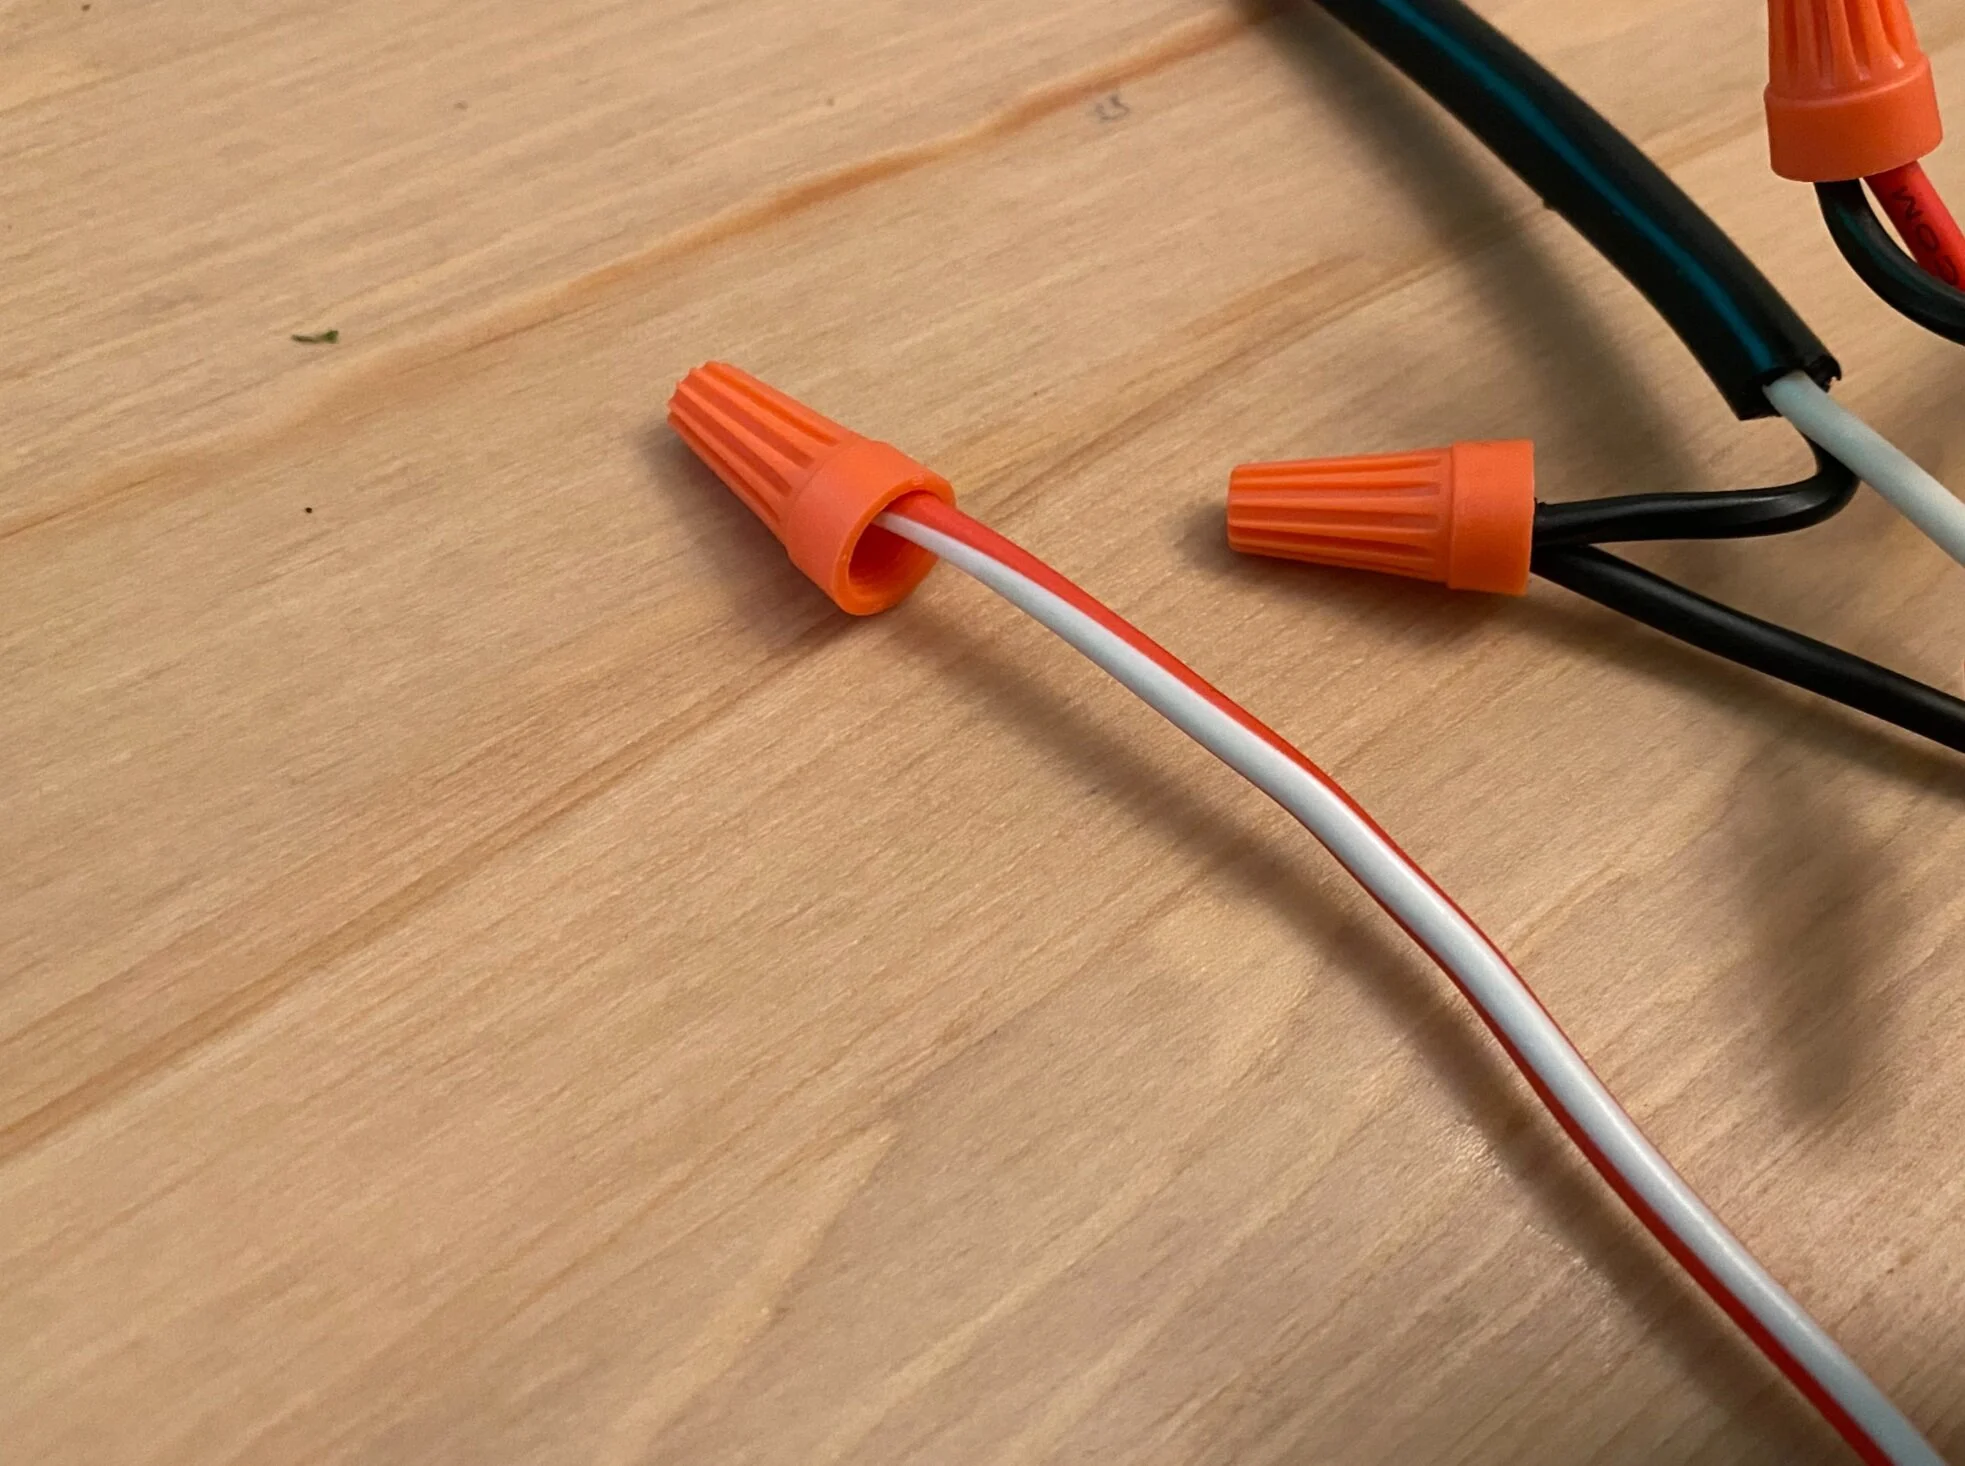
First, I capped off the RED & WHITE cable, because I am building a single pole dimmer switch as opposed to a three way dimmer switch. For dimmer switches in which the cable is not red & white, it may be indicated with a tag.
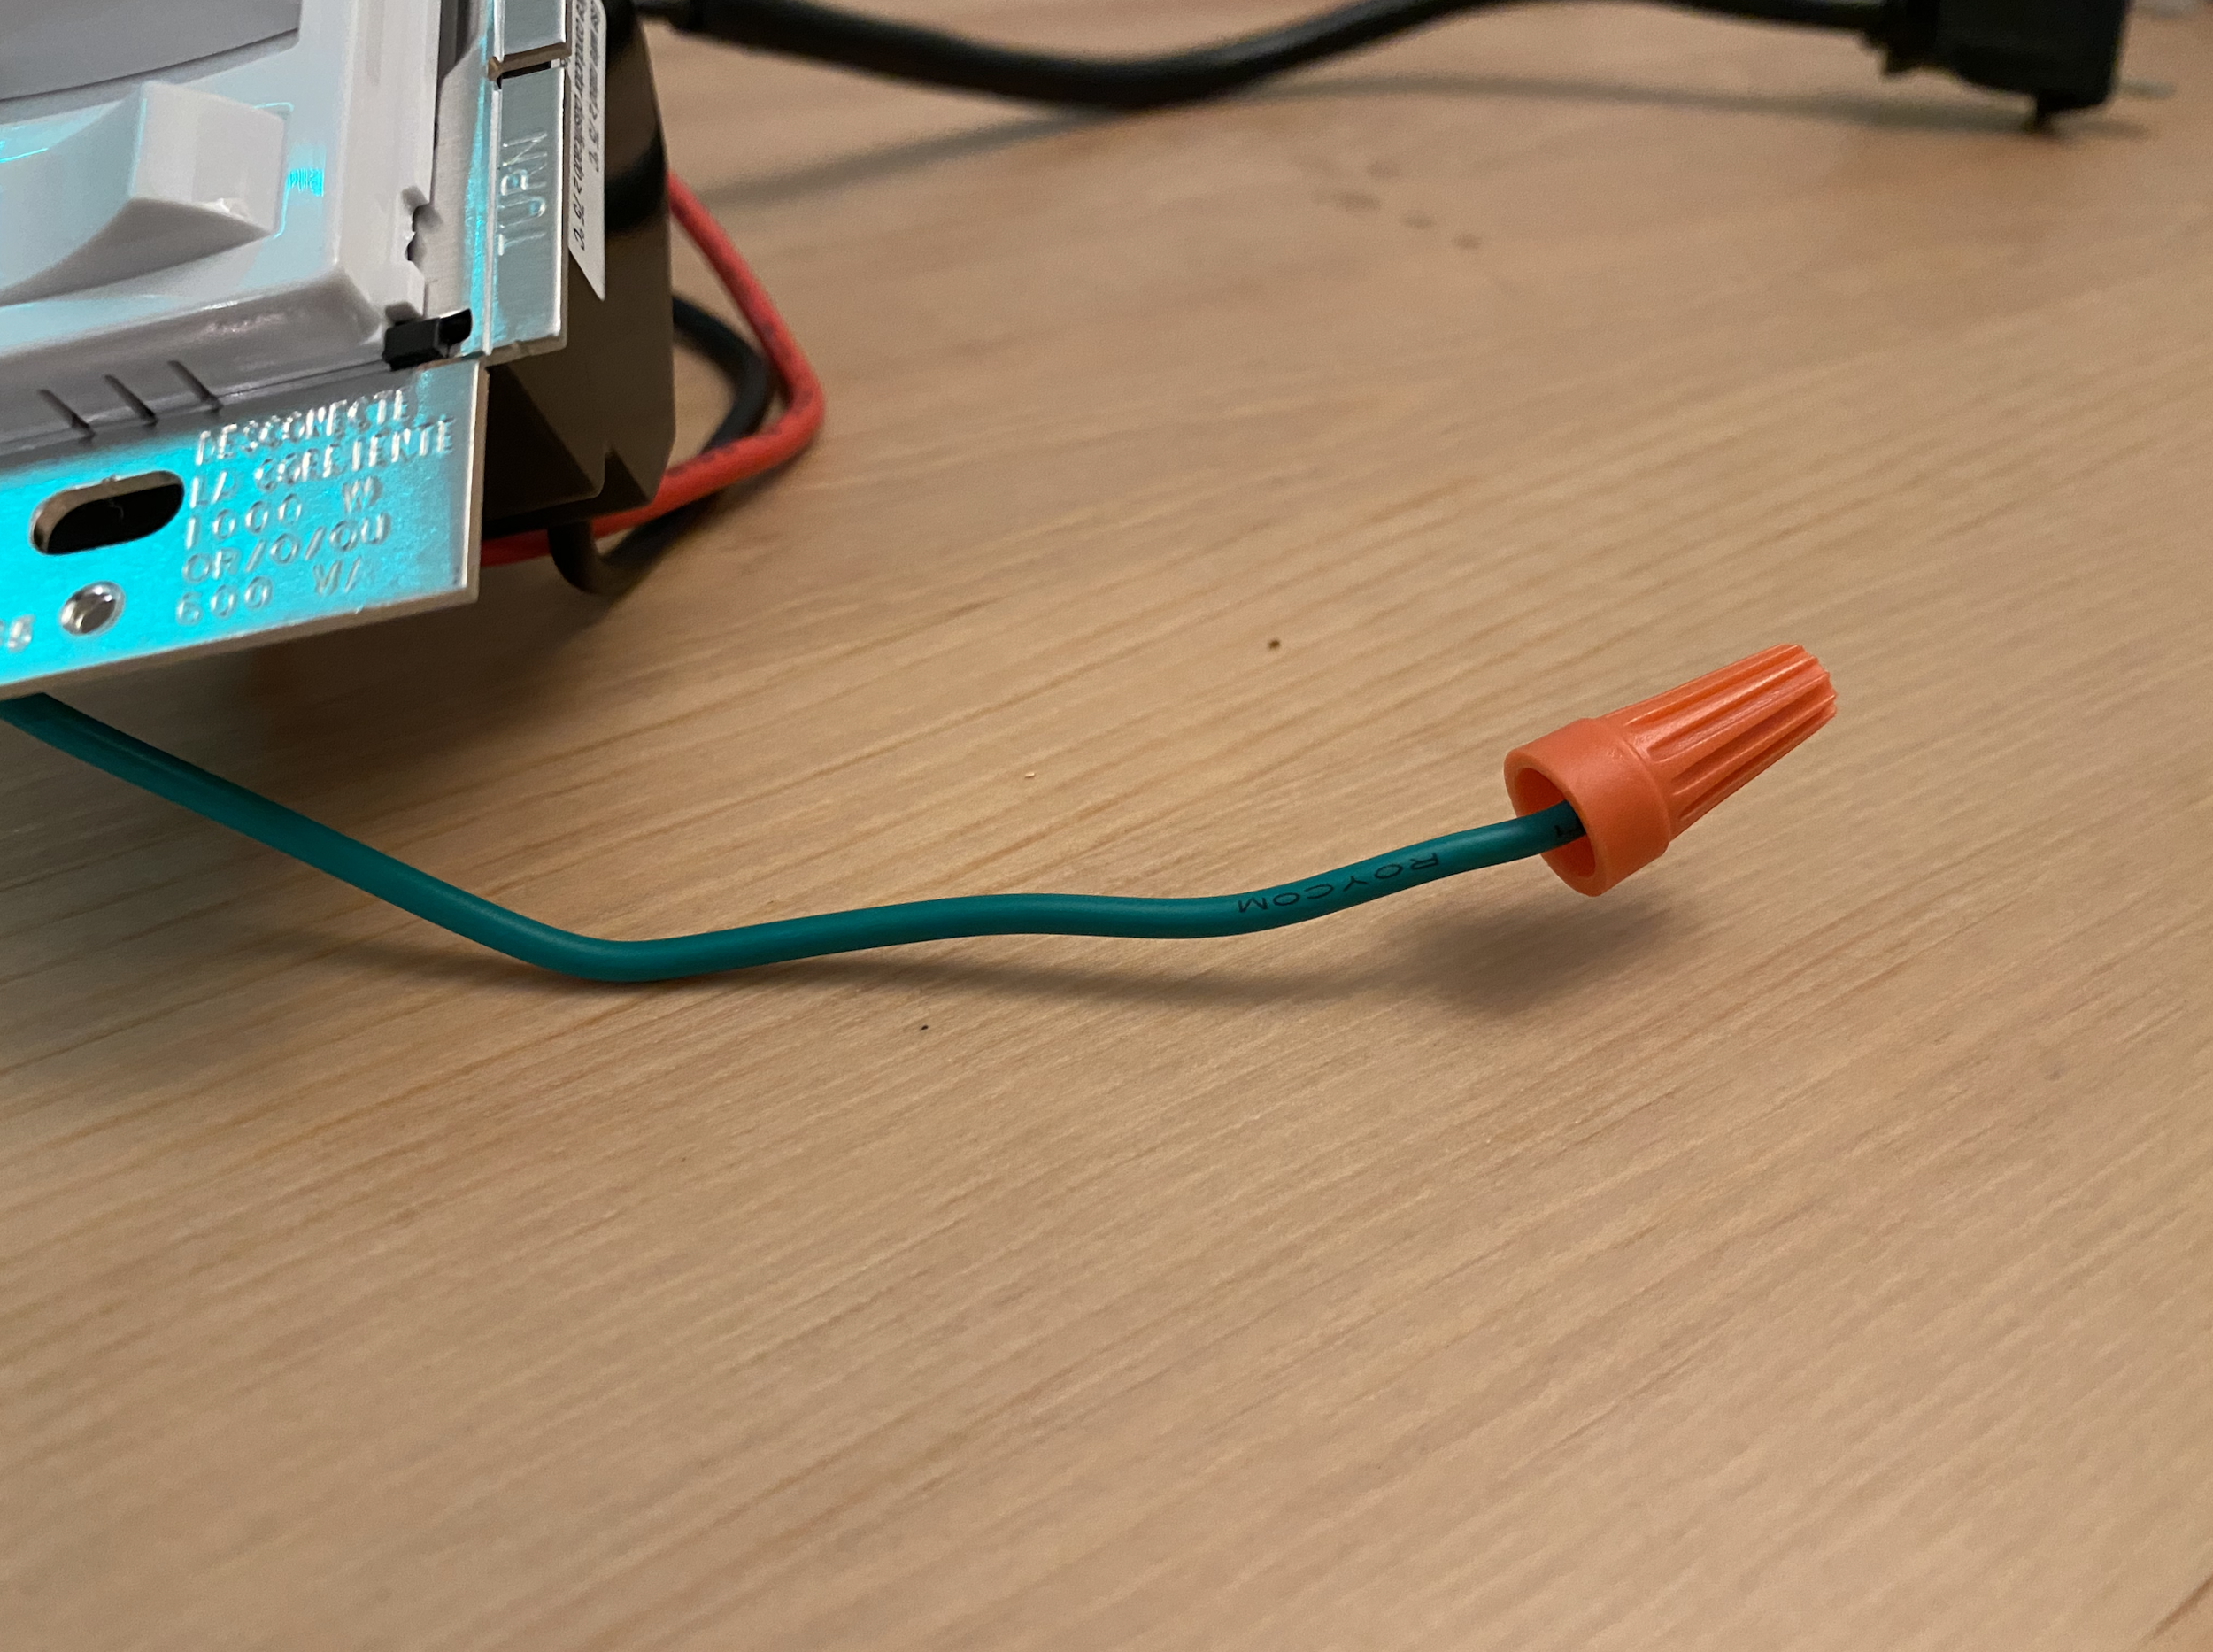
For the GREEN (GROUND) cable coming from the dimmer switch, I capped it off by itself too. Usually, there is a ground cable coming from the extension cord, but since I was using a basic two prong extension cord, there was no ground.
Connect both of the WHITE (NEUTRAL) wires from the line in side of the extension cord and the load out side of the extension cord.
Then, connect the BLACK (HOT) wire from the line in side of the extension to the BLACK (HOT) wire from the dimmer switch.

Lastly, connect the RED wire coming from the dimmer switch to the load out BLACK (HOT) wire.
That is essentially how you build a dimmer switch.

I wish my dimmer switch came with a backing so I could hide all of the wires. This was just a trial, so I anticipate creating a higher quality version of this in the near future. Until then, this will just have to look like an I.E.D.
Thanks for reading and I hope this was useful.
Auggie